
Boxing Stances: Choose Your Lead Side and Build a Balanced Base
Learn orthodox and southpaw boxing stances, set up a balanced base, and practice a short non-contact drill—with adjustments for MMA training.
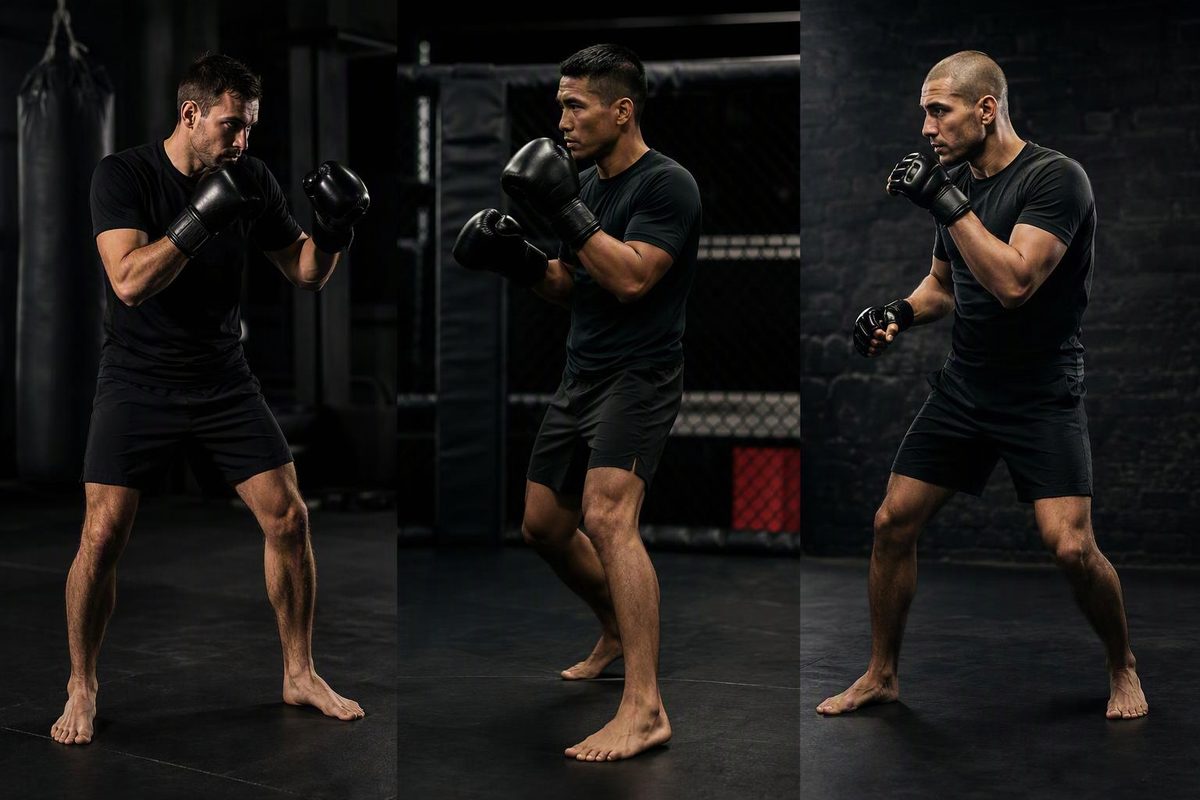
The two main boxing stances are orthodox, with your left side forward, and southpaw, with your right side forward. For a beginner, the useful question is not which stance looks more advanced. It is whether you can punch, recover your guard and move without losing your balance.
If you train MMA, learn this boxing base—but have your coach check it for the kicks and takedowns included in your classes.
Orthodox vs southpaw
| Stance | Lead foot and hand | Rear foot and hand | Usual starting choice |
|---|---|---|---|
| Orthodox | Left | Right | Right-handed beginners |
| Southpaw | Right | Left | Left-handed beginners |
Your lead side is closer to the opponent; your rear side is farther away. In either stance, the jab comes from the lead hand and the straight cross from the rear hand. England Boxing teaches these mirrored lead-hand positions in its coaching handbook.
Handedness is a starting guide, not the definition of a stance. A right-handed person standing right-side forward is still a southpaw. If you have no previous training, begin with the usual choice above and ask your coach to assess it. Unless your coach directs otherwise, keep one lead side while learning basic punches and movement rather than switching whenever a drill feels awkward.
For the right-side-forward version in more detail, see our southpaw stance guide.
Set up a basic boxing stance
These cues describe an orthodox stance. Reverse left and right for southpaw. They follow England Boxing’s stance and guard fundamentals, with spacing checked through movement rather than a rigid measurement.
- Start around shoulder width, then stagger your feet. Put your left foot forward and your right foot behind and slightly out to the right. Keep some sideways separation rather than standing on a tightrope.
- Turn slightly side-on. Let your feet, hips and shoulders settle into a comfortable angle. Do not force your body completely sideways.
- Soften your knees. Use a slight bend, not a deep squat. Keep your rear heel lightly raised rather than planted heavily.
- Raise a relaxed guard. Bring your hands near cheek level, with the lead hand slightly forward and your elbows close to your body. Lower your chin gently while keeping your eyes ahead; do not jam it into your chest.
- Check that you can move. Take a small step forward and back. If you need to rock your body first or drag a foot into position, adjust your spacing.
An excessively wide base restricts movement; a narrow base provides poor support. Checkpoint: after a slow jab, can you return your hand to guard and immediately step backward without stumbling? That is more useful than matching a photograph perfectly.
Stance is not the same as guard
Stance describes your feet and body position; guard describes where you hold your hands and arms. The FightCamp stance guide makes this distinction explicitly.
A high guard, peek-a-boo guard or shoulder-roll defense is not a third lead-side stance. Likewise, “crouched,” “wide” and “bladed”—meaning more side-on—describe variations in posture or spacing. You can be orthodox or southpaw while changing those features.
Begin with a simple raised guard. Do not copy a professional’s low hands while you are still learning to return a jab and keep your feet underneath you.
What changes for MMA?
Do not assume that a boxing-class setup should remain unchanged when kicks and grappling are added. In Grapplearts’ discussion with Denis Kang, stance choice involves trade-offs in mobility, low-kick defense, punching and kicking—not one universal position.
Ask your MMA coach to check whether you can lift your lead leg for a taught kick defense and move into your taught takedown defense without first untangling your feet. Let those tasks guide adjustments to your angle, width and weight placement. Avoid solving every problem by simply standing wider or crouching lower.
A short non-contact practice
After warming up, use a clear, non-slip space:
- One minute: set your stance, relax your shoulders and reset whenever your posture stiffens.
- One minute: take small forward and backward steps. Move the front foot first going forward and the rear foot first going backward; let the other foot follow to restore your spacing.
- One minute: throw slow single jabs into the air, keep your rear hand in guard, return your lead hand to guard, then step back. Do not snap your elbow into a locked position.
Use our beginner footwork guide for side steps and further drills. Keep this practice easy, not an extra conditioning session after work.
Finish by checking three things: your feet have not crossed or come together, your chin has not lifted, and you can move again after each punch. Bring any repeated difficulty to your coach before adding speed or contact.