
Build a Balanced Southpaw Stance for Beginner MMA
Set up your right-side lead, learn which foot moves first, and understand orthodox matchups with a simple, non-contact southpaw practice for MMA beginners.
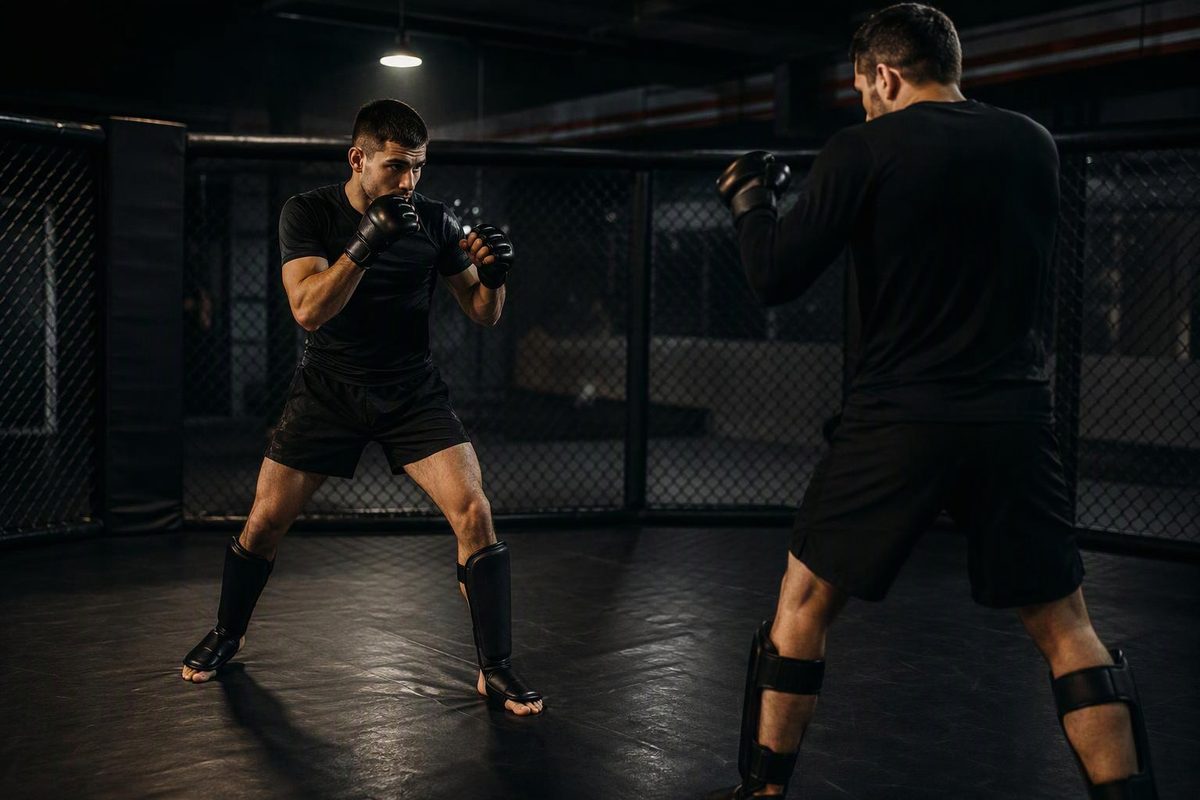
A southpaw stance puts your right foot and right hand forward, with your left foot and left hand behind. Your right hand throws the jab; your left hand throws the rear straight, often called the cross. Orthodox is the reverse: left side forward, right side behind. For beginner MMA, southpaw is a workable starting stance—not an automatic advantage. Choose it with your coach, then learn to move, strike and recover without losing balance. Evolve MMA’s stance guide explains both foundations.
Choose a direction to see which foot moves first in a southpaw step-and-slide.
Southpaw Step-and-Slide
Step forward with your lead right foot, then bring your left foot forward to restore your starting spacing.
| Direction | First Foot | Follows |
|---|---|---|
| Forward | Right | Left |
| Backward | Left | Right |
| Your Right | Right | Left |
| Your Left | Left | Right |
Check Your Finish
Keep your right side forward. Restore space between your feet without crossing them or bringing them together. This guide covers basic step-and-slide footwork, not deliberate stance switching.
If you must rearrange your feet before moving again, ask your coach to check your stance.
Source: War & Peace MMA’s beginner stance and footwork guidance, linked in the article.
Set Up Your Right-Side Lead Without Overreaching
Start with the position below, then let your MMA coach adjust it. You are looking for a stance you can move from, not a pose you can hold only while standing still.
- Put your right foot forward and left foot back. Keep space between them sideways as well as front-to-back—think two tracks, not a tightrope. Start around shoulder width rather than stretching into a long lunge. Point your lead foot mostly forward and turn your rear foot slightly outward.
- Soften your knees. Keep your weight supported between your feet rather than leaning over the front leg. Your rear heel should be light enough to move and pivot, not planted rigidly.
- Raise your hands. Hold the right hand slightly forward and the left near your cheek. Keep your elbows close to your body and shoulders relaxed.
- Tuck your chin slightly and look ahead. Do not stare at your feet or force your chin down so hard that your neck becomes tense.
These balance, spacing and guard principles are consistent with England Boxing’s coaching handbook. That is a boxing source, however, not a complete prescription for an MMA stance. Your posture must also let you defend kicks and respond to takedowns.
Do not copy a completely sideways boxing position without checking it with your coach. War & Peace MMA’s stance guidance describes foot positioning and adjusting posture for kicks, range and MMA takedown threats. The useful takeaway is that your stance needs to suit the training task; the exact angle of your body is something to work through on the mat.
Checkpoint: Can you take a small step in any direction without first rearranging your feet? If not, ask your coach to check your stance width, length and weight distribution. Do this before trying to make your punches faster or harder.
Keep Your Guard Usable, Not Rigid
Your right hand being forward does not mean it should hang low or reach toward an imaginary opponent. Begin with a guard you can return to after every punch. When the right jab comes back, it should return to its starting position rather than remain extended while the left hand punches.
The same applies to the rear hand. Keeping your left hand near your cheek gives you a clear home position to return to after the straight. During slow practice, watch for the non-punching hand drifting down. Correct that drift before adding another movement.
If holding your guard makes you shrug and stiffen your neck, reset your shoulders rather than dropping your hands altogether. The aim is a repeatable position that stays with you as your feet move.
Move the Nearest Foot First, Then Restore Your Spacing
For basic step-and-slide footwork, move the foot nearest your intended direction first:
| Direction | First Foot | Following Foot |
|---|---|---|
| Forward | Right | Left |
| Backward | Left | Right |
| To Your Right | Right | Left |
| To Your Left | Left | Right |
Use small steps and restore your starting spacing after each one. Avoid clicking your feet together, crossing your legs or reaching so far that the following foot cannot recover your base. This is the beginner step-and-slide pattern described in the gym guidance linked above; deliberate stance switches are a separate skill.
Moving forward, step with your lead right foot and let your left foot follow. Do not leave the left foot far behind and turn the movement into a lunge. Moving backward, start with your rear left foot, then bring the right foot back enough to restore your stance.
The sideways directions use the same rule. To your right, the right foot moves first. To your left, the left foot moves first. You should finish with the same lead side you started with, not accidentally change stance halfway through the movement.
At first, pause after each step-and-slide. That pause lets you notice whether your feet have become too close, whether your stance has stretched out, or whether your upper body has tipped beyond your base. Fix the position before taking the next step.
Separate Footwork From Accidental Stance Switching
If your left foot passes your right while you are trying to step forward in southpaw, you have not completed the basic movement described here. Stop and rebuild your right-side lead instead of continuing from an unfamiliar position.
Experienced fighters may switch stance deliberately. That does not make an accidental switch useful practice for a beginner who is still learning which hand jabs and which foot leads. Keep the drill simple enough that you can identify your stance at the end of every movement.
Do not try to correct a crossed or narrowed stance by throwing punches faster. Remove the punches, practise the step alone, and add the hands back when you can finish balanced.
A Right Jab and Left Straight Must Finish in Your Stance
In southpaw, the basic jab–straight sequence is right jab, left straight. Naming the hands helps prevent the common beginner mix-up of copying an orthodox demonstration without reversing the lead and rear sides.
Begin slowly enough to notice what happens after each punch. Return the right jab to guard. Throw the left straight without reaching so far that you fall over the front leg, then bring the left hand back to its home position. Keep the non-punching hand up throughout.
Your rear heel should be free to move and pivot rather than locked to the floor, but do not force a large twist just to make the movement look powerful. Ask your coach to check the punch and the stance together. A hand reaching the target position is not the only checkpoint; you also need to be able to recover.
After the sequence, pause with your eyes ahead. Can you take a small step without gathering your feet or rocking your weight back into place? If not, reduce the reach and have your coach check where you are losing your base.
For this beginner practice, shadowbox rather than test power on a partner. The task is to connect the right-side lead, the hand sequence and the return to guard.
Against Orthodox, the Outside Angle Is Useful but Not Protective
Southpaw versus orthodox is an open-stance matchup: your lead right side faces their lead left side. Both rear hands have attacking opportunities—your left straight and their right straight. The angle is not a one-way advantage.
A common starting tactic is to place your lead right foot just outside their lead left foot, toward your right. This can improve the line for your left straight. However, outside foot position is not automatic protection, and inside angles also have uses. Evolve MMA’s explanation of open-stance angles covers both positions and their risks.
Treat the outside position as a relationship to recognize, not a spot you must chase at any cost. An oversized sideways step can spoil the stance you have just learned. Dropping your hands or looking down at shoes also defeats the purpose of practising the angle while staying ready.
In a slow, coach-led drill, begin by identifying your lead foot and your partner’s lead foot. Move only as instructed, then pause to check the relationship and your balance. Do not turn the exercise into a race to get outside or add contact without the coach’s direction.
The basic footwork rule still matters: if you are stepping to your right, move your right foot first and let the left follow. Finishing outside your partner’s foot is not a successful repetition if your own feet end up crossed or your guard disappears.
Choose Southpaw With Your Coach, Not a Favorite Fighter
Left-handed beginners commonly start southpaw; right-handed beginners commonly start orthodox. Right-handed fighters can use southpaw too, so handedness is a starting point rather than a requirement. Evolve MMA’s stance guide notes that both preferences and stance switching occur.
Ask your coach to watch you move and throw simple punches from both sides. Give them something concrete to assess: whether you can keep your spacing, return your hands to guard and recover after the rear straight. Do not decide solely from which side feels comfortable while you are standing still.
Then use one primary stance consistently while learning the basics. If your coach chooses southpaw with you, practise the right jab and left straight from that base rather than changing sides whenever a movement becomes awkward.
A favorite fighter’s stance is not enough reason to switch. You are choosing a position for your own early training, including the way you move and respond to MMA’s different threats. If you are unsure, bring that uncertainty to your coach instead of repeatedly changing your lead foot during drills.
Practise Three Non-Contact Rounds With a Clear Finish
Try three one-minute rounds, resting as needed. Keep the movements slow enough to check your stance. These rounds are a practice structure, not a test of how many punches you can fit into a minute.
Round 1: Move Only
Step forward, back, right and left. Complete each step-and-slide, then pause to check your spacing. Keep your hands in guard and your eyes ahead rather than watching your feet throughout the round.
If a direction causes you to cross your legs or gather your feet, practise that movement slowly before continuing. Your finish should still be southpaw: right side forward, left side behind, with room between your feet.
Round 2: Right Jab, Left Straight
Shadowbox slowly from your starting stance. Keep the non-punching hand up and return both hands to guard. Finish each sequence before beginning the next rather than letting the punches pull you into continuous forward reaching.
If you lose balance, reset your feet and shorten the reach. Ask for a coaching correction if the same problem returns; do not use speed to hide it.
Round 3: Move, Punch, Reset
Complete one small step-and-slide, throw the same right jab and left straight, then recover your stance before repeating. Keep the movement and punches distinct enough that you can identify where a mistake begins.
The checkpoint is simple: you finish balanced, looking ahead and ready to move again—not reaching or falling forward. Ask for one coaching correction before adding speed, kicks or partner resistance.
You do not need hard sparring to learn this position. Keep early partner work cooperative and coach-led; our first-month MMA guide covers the wider progression into training.